
How to Fix a Mini Fridge: Your Troubleshooting Guide
Refrigerator problems always feel like an emergency. There you are, thinking you'll enjoy a nice, cold drink, but when you open up your fridge, you can tell it's much warmer than it should be. What's the problem? And how can you save all of your food and drink before it goes bad? The time to swing into action is now.
Fortunately, there are plenty of simple fixes that can get your mini fridge up and running again, without needing to consult a refrigerator repair shop or splurge on a new one. Use this handy guide to help you identify the trouble, and give this step-by-step guide a try to see if you can fix your fridge on your own. You may not be able to cure everything that ails your fridge on your own, but giving some quick fixes a shot first could save you both time and money.
1. Check the Power Cord
This may sound laughably basic, but making sure your mini fridge is getting the electricity it needs to run is always the first step. Double-check to make sure the cord is plugged in tightly and that it hasn't been loosened by vibrations from the compressor over time. If your plug is very loose, try replacing the wall receptacle to see it a tighter fit keeps your appliance running reliably.
If your appliance has a light that comes on when you open the refrigerator door, you can skip to Step 5, since this means that you're getting plenty of electricity. If you don't have a fridge light but hear humming, you can also skip to Step 5 for the same reason.
2. Check Your Circuit Breaker
If the plug isn't the source of your power issues, go to your electrical panel and make sure the breaker hasn't tripped. You can tell if it has because the black switch will be in the "off" position and will look different from the rest of the breakers that are working normally. If the breaker is off, flip it back on and plug your fridge back in. Listen for humming to indicate that it's getting power, and wait for several hours to see if it is getting cold. If it does, great! If not, skip to Step 5 to see what else the issue could be.
3. Test the Outlet
If you're still having trouble getting your mini fridge to power up, use a multimeter or receptacle tester to make sure electricity is flowing to the outlet when the breaker is on. If it's not, or if the readings indicate a problem like too little current or an ungrounded outlet, it's time to call an electrician to fix your home's wiring. In the meantime, try the fridge in another outlet to see if you can temporarily keep your food and drinks cold while you wait for repair help.
4. Skip the Extension Cord
If you've been using an extension cord for your mini fridge, it may be malfunctioning. Compressors draw a lot of power, and they can cause extension cords to overheat and decay over time. Plug your mini fridge or beverage cooler directly into a dedicated wall outlet instead. If that solves the problem, throw the extension cord away. If not, keep the fridge plugged into the wall and go back to Step 2.
5. Check the Thermostat
If your refrigerator is getting power but isn't cold enough, check the thermostat. It's easier than you think to bump a dial or press a button that turns the temperature up, so reset the temperature to your desired range and close the fridge back up. Wait several hours to check and see if you're back in business.
If you never hear the compressor click back on and make the humming sound and vibrations typical of your fridge, your thermostat may be disconnected or broken, meaning that it can't communicate with your refrigerator to make it come on. If you're handy and have a proper tool kit, you may be able to reconnect the wires or replace the whole thermostat yourself. If not, call a pro.
If you hear the compressor running constantly but the fridge isn't getting colder, the problem isn't your temperature control, but rather an issue with the seal or the cooling system in general. Move on to the next step.
6. Test the Door Seal
If the door seal isn't tight, cold air will leak out of your fridge and cause your fridge compressor to run almost constantly to keep things cool. You can test the door seal by placing a piece of paper part way in the door before closing it. Tug on the paper: If you feel tension and it's a bit difficult to remove, the seal is fine. If the paper slides out easily, your refrigerator door gasket needs to be replaced. Be sure to test all sides of the door before ruling out this problem.
For a quick fix, you may be able to use the door lock to hold the door in place (if your fridge has one). Try the paper test again, locking the door this time. If the paper doesn't slip out, make a habit of locking the door to keep it closed tightly.
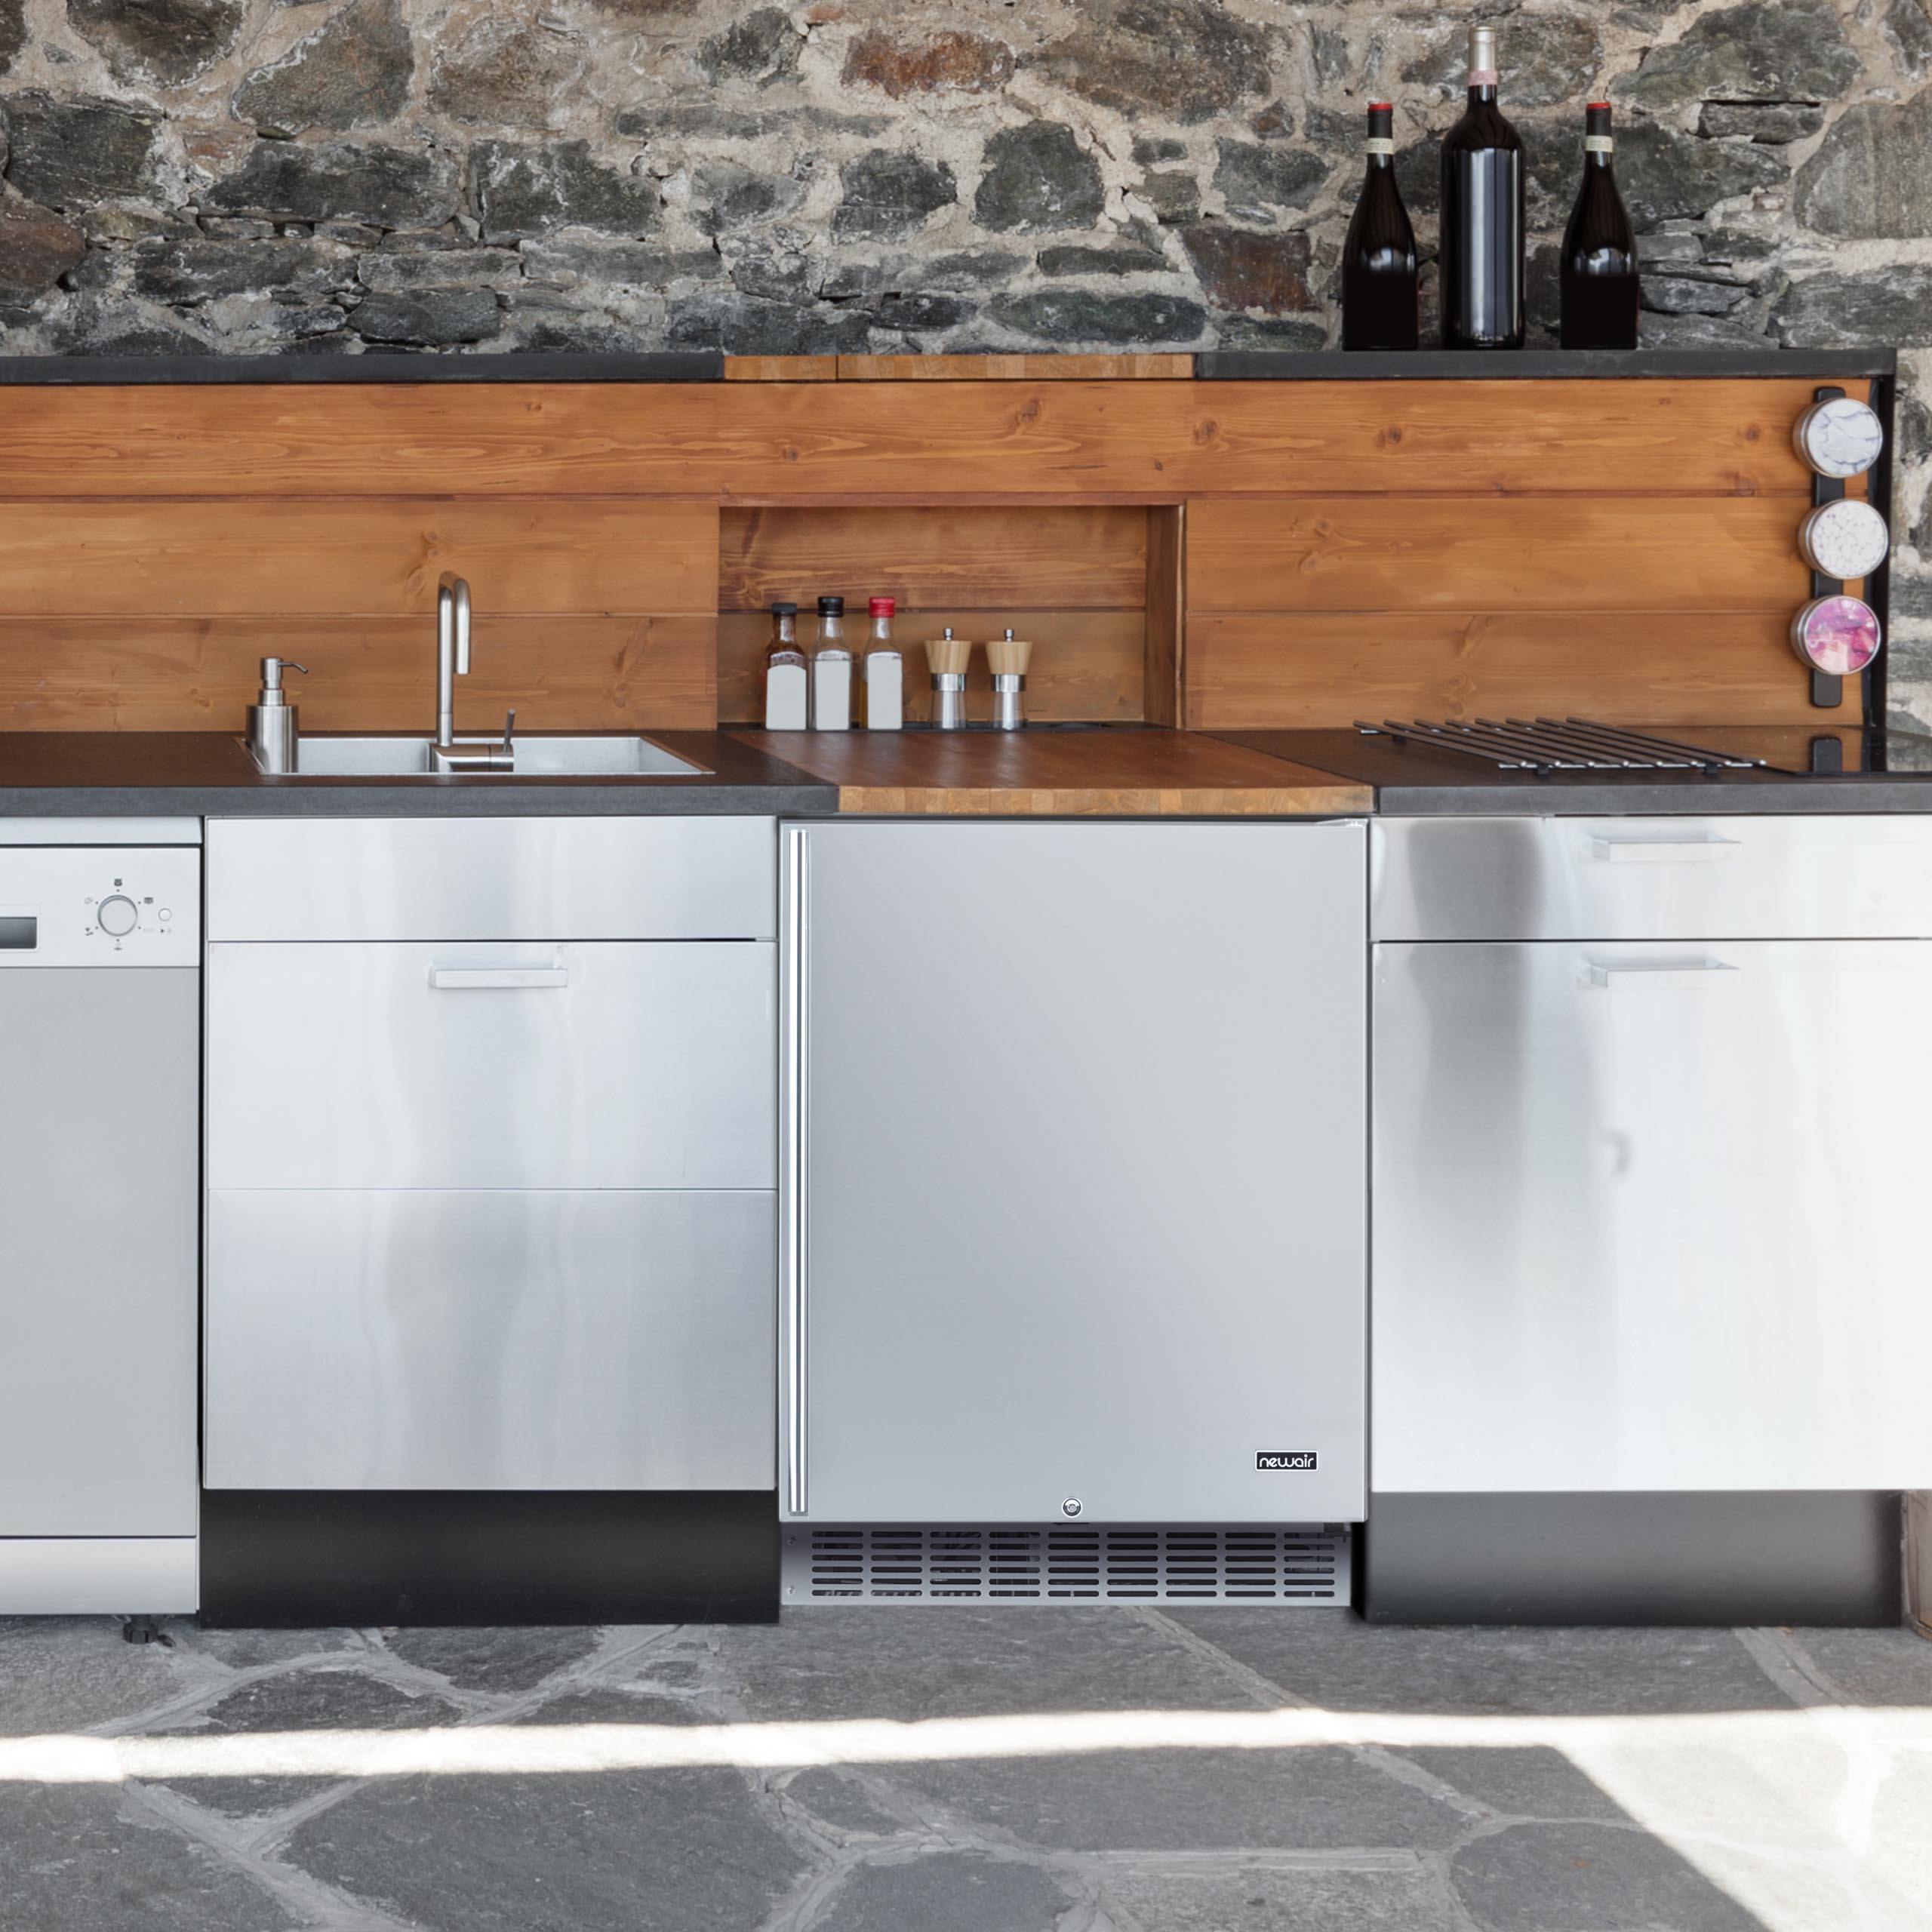
7. Check the Condenser Coils
On most mini refrigerators and beverage coolers, the condenser coils are located on the back. This means that fridge should stand a good three inches away from the back wall, and there should be proper spacing along the sides if you don't have a front-venting, slide-in model. This will allow the condenser to give off heat and vent it away properly, in turn ensuring that your fridge doesn't have to work so hard to make cold air. Look up your model number online to find an owner's manual to check for proper spacing, and adjust as required.
Next, check to see if the condenser coils are dirty. Over time it's easy for them to collect a thick layer of dust or pet hair, and this can seriously hinder your refrigerator's cooling efficiency. These can be found either at the back of your mini fridge or perhaps underneath, behind a grate. Use an electrostatic duster to clean the coils, and set a reminder on your phone to do this chore twice per year to keep things in good working order. If your fridge perks up within a few hours of cleaning and adding clearance for ventilation, keep an eye on this regularly to avoid future issues.
8. Check Interior Vents for Blockages
Cold air needs to be free to move about your mini fridge, but blocked vents can keep it from circulating properly. Remove all contents and shelves to inspect the vents, making sure they aren't covered over with frost or blocked with food. You can use a hair dryer to melt ice from the vents if this is your problem. When you reload your food and drink items, make sure that you aren't trying to pack too many items into the fridge at once, and that there is still space for interior air flow — particularly around the vents.
9. Defrost the Freezer
If your mini fridge has a small freezer compartment, ice build-up here can also block proper ventilation — in fact, if your freezer is covered in thick frost, you might not even notice the vents. Move your food items to another refrigerator and unplug your mini fridge so it can defrost. When the frost — which is made up of many layers of frozen water vapor that condenses onto the freezer compartment each time your open the mini fridge — finally melts away, be sure to empty the defrost drain pan and dry everything thoroughly before returning it to service.
If excessive frost build-up continues to be a problem, it's most likely due to a faulty defrost timer. You can call an appliance repair specialist to replace it, or you can try to do it yourself if you have the part number you need to order a new one.
Pro Tip:
Got a leaking refrigerator? Check the water line to the defrost drain for blockages. try using a turkey baster filed with warm water to dislodge any debris and allow water to flow again.
10. Check the Fans
If blocked vents aren't causing your air flow issue, you could have a faulty fan in your mini fridge. If your fridge has condenser coils on the bottom instead of the back, check the condenser fan to make sure it moves freely; if not, you may be able to DIY this fridge repair by replacing the whole part if you're handy.
Next, check the evaporator fan to make sure cold air can get into the fridge. To do this, you'll probably have to remove the interior back panel of your mini fridge — it's most likely located near the freezer if you have one. If a fan blade is broken or if it doesn't move, you can replace the whole refrigerator part on your own or call in a service professional.
When your mini fridge isn't working, take a deep breath and work through these refrigerator troubleshooting steps before you panic. You may find that all it takes is an easy DIY repair to keep you from having to buy a new fridge.
Browse Beer Fridges


0 comments